
SNAP DOCK INDUSTRIAL ASSEMBLY INSTRUCTIONS
Tools & Hardware Required
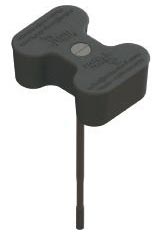
Couplers, Bolts, Nuts, Drive Tool (all provided)
Assembling your Snap Dock sections on shore:
1) Push plastic bolt through coupler and twist so the head nests flush with the coupler.
2) Place couplers with bolts in bottom pockets with bolt facing up. ‘Honeycomb’ side of coupler should be facing up.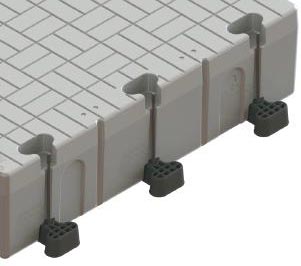
3) Lay connecting section on other half of couplers so the two sections are flush with one another.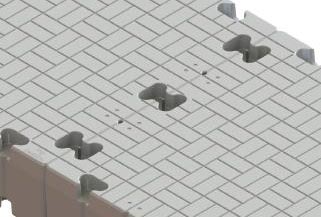
4) Place secondary couplers on top half of section so bolt goes through center.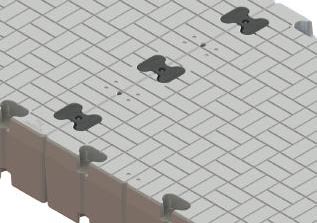
5) Place nut on exposed threaded end of bolt, and tighten using drive tool.
If you are installing the dock sections on the water using our In Water Installation Tool:
Follow step 1, then place the botiom coupler with bolt in the arm of the Installation Tool. With the sections next to one another, grip the handles and slide the metal sheath between the two sections, bringing the bolt up through the top pocket. Follow steps (4) and (5).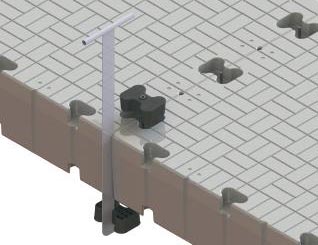
Congratulations! Your dock sections are now connected and ready for use!